When Should you Chlorinate Your Water Well
Chlorinate Your Water Well
Homeowners with private wells should have their well water tested every 3 to 5 years for some contaminants, including bacteria. If these tests turn up positive for bacteria, chlorinating the well may be a way to resolve the problem.
Chlorinating your well, also known as shock chlorination, kills bacteria and disease-causing organisms that can enter your well. This can happen after a flood or period of heavy rain, which causes surface water to enter your well. It can also be caused by construction near a well or on the home’s plumbing system. Learn the step by step instructions for well chlorination.
Chlorinating a well eliminates other water quality problems, as well, like the presence of iron bacteria and hydrogen sulfide. These contaminants can give the water a bad taste and cause a rotten egg smell when the faucet is turned on.
Before you begin
Homeowners will not be able to bathe, drink or do laundry in their home’s water for at least 24 hours after well chlorination, sometimes even longer. Before you chlorinate the well, get caught up on laundry and make sure everyone has had a bath or shower.
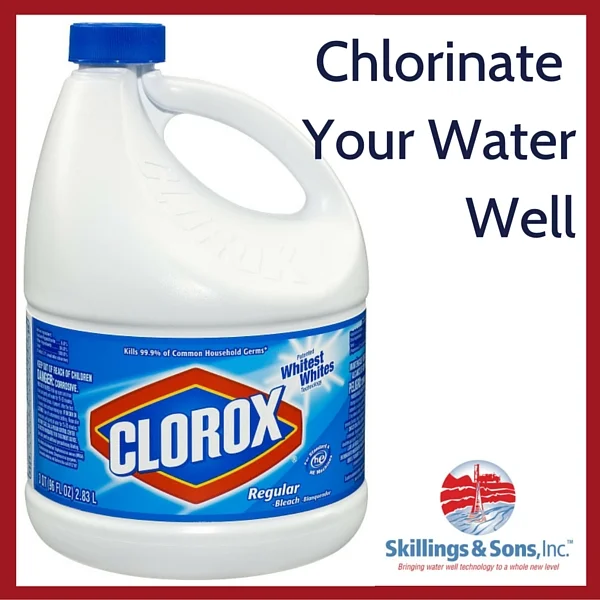
If you are chlorinating your well yourself, Skillings & Sons recommends using liquid, unscented household bleach. To figure out how much you need use this simple formula:
• Bedrock wells and other drilled wells: 1 gallon for every 500 feet
• Shallow or dug wells: 1 gallon for every 18 feet of standing water
Chlorinating the well
Gather your supplies and head to your well. Open the well cover and carefully pour in the pre-measured bleach, trying if you can to coat the inner walls of the well. Connect a garden hose from an outside faucet into the top of well. Turn on the water all the way. Run the water until you can detect chlorine coming from the hose. This can take roughly half an hour for shallow wells, and deeper wells can take a few hours.
For homes with electric water heaters, the water within that system must be chlorinated as well. This is done by turning on a few hot water faucets in the house and running them for 10 to 15 minutes. To make sure all faucets and water appliances are disinfected as well, you should also run all shower heads, sprayers, toilets, outside faucets, washing machines and dishwashers. All fixtures and appliances in the house should be run one at a time – use lukewarm water if there are hot and cold faucets -- until the chlorinated water is present, and then shut down.
Flushing the well
At least 24 hours after you’ve completely chlorinated the well and all fixtures, start running a garden hose outside in an area that will not run into other waterways, harm animals or cause damage. You can keep the water constantly running without damaging the water system, or if you have a low-production well, you can run the hose for an hour on and two hours off, repeating. With a chlorine testing kit purchased at your local pool store, test the chlorine levels as it decreases until there is no more chlorine detected. Next, run the faucets, fixtures, and appliances in the home, like before, until all the chlorine is gone.
This process can take a long time – in some cases up to three days.
Things to Be Aware Of
Chlorinating a well requires a lot of running water. Some homeowners experience a drop in water pressure during this process. This could be caused by sediment clogging a filter or something more serious. If you experience low pressure, and it is not a clogged filter, please give Skillings & Sons a call.
If bacteria were the cause for your chlorination, follow up with another water quality test to make sure the problem doesn’t return. If it does, it could indicate a serious issue with your well. Contact us to learn more about well chlorination.


